How to add that (fancy) gold button to your navigation menu
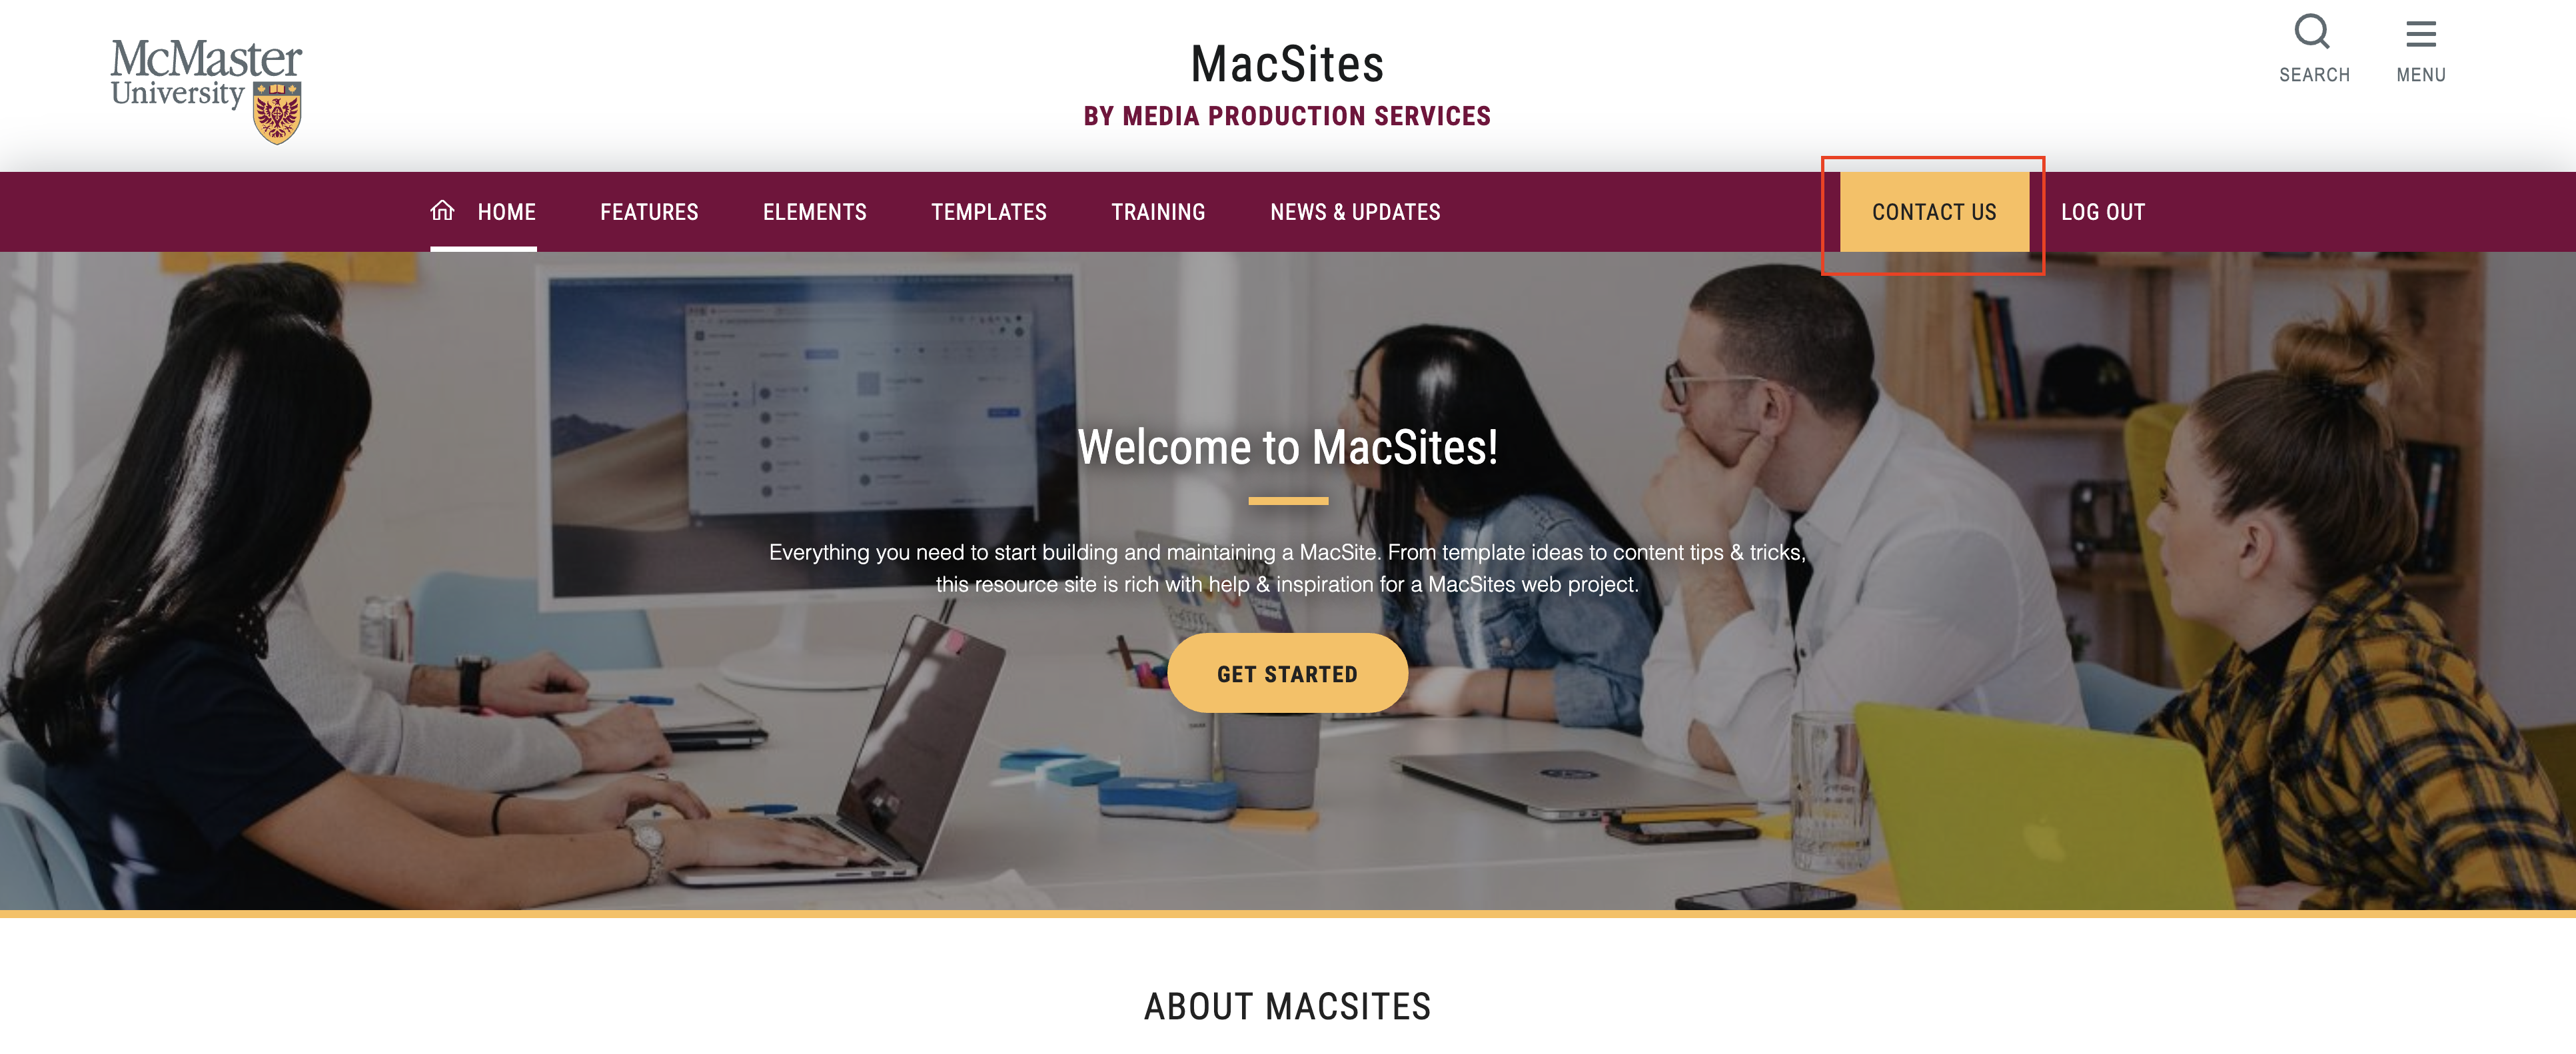
In this week’s training session, one of our clients asked how to add that gold button on the top right of the navbar. We thought this would be a great way to kick off the articles section on the MacSites Training Portal.
If you’re thinking “what gold button?”, have a look at the nav bar at the top of this page.
When and why to use the gold button
Before we get into how to add the button, let’s take a look at when and why we would use it, and when we shouldn’t.
This button is a great feature to use for something important that you’d like to call out to your users. Some use case examples are:
- A “Contact Us” button if you want to make it very clear to your users how to contact you or your department/office
- A “Submit” button for an important application related to your department
- A “Report” button if your site helps triage incoming issues related to your department
The flashy gold button sounds great, right? Sure, but it’s important to keep in mind what you want your users to do. For example, if the purpose of your site is to provide information in order to minimize the number of incoming calls/emails to your office, then using an FAQ button might be more beneficial than calling out the “Contact Us” page.
When managing your content, always keep in mind what it is you want your user to do.
How to add the gold button to my navbar
Once you’ve decided the best use case for a fancy new golden button, this is how you add it.
Step 1: Make sure the link page exists
Before adding the button, make sure the page you want it to point to exists. This will save time and minimize the possibility of issues with a broken link.
Step 2: Navigate to Appearance > Menus
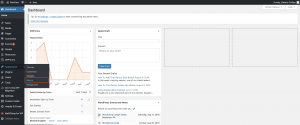
You will need to login to the back-end of your MacSite and then navigate to Appearance > Menus
Step 3: Expand the Screen Options Menu
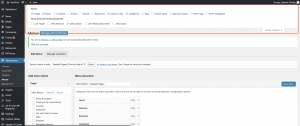
Once you are on the menus page, make sure you’re scrolled to the very top. On the right-hand side, you’ll see a tab that says “Screen Options”. Click it to expand the menu.
Then, tick the checkbox that says “CSS Classes”
Step 4: Add the classes to the class box
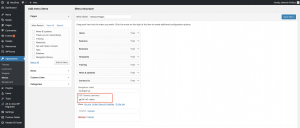
Once you’ve ticked the “CSS Classes” checkbox, a text field will appear below-expanded menu items with a label that says “CSS Classes (optional)”.
You have two options:
Option One – Gold button at the end of the navbar, without extra spacing (see example below): To do this, add the word “gold” (all lower case) to the text field and hit the blue “save menu” button.
Option Two – Gold button at the end of the navbar, with extra spacing between it and the navbar (see example below): To do this, add the word “gold” (all lower case) AND the word “ml-auto” to the text field and hit the blue “save menu” button.
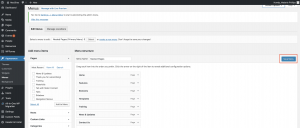
Step 5: Hit the blue “save menu” button and check your page
It’s mentioned at the end of both options for step 4, but it’s an easy step to forget. Make sure to click the blue “save menu” button after you’ve made the change.
That’s it!
If you have any requests for future articles, let us know by sending your article requests to mpsweb@mcmaster.ca or by using the contact form on this site.
Tutorials

